A Visit to JFlight's A320 BFPT Flight Simulator
After returning from the Anabatic Simulation C172 simulator experience in Kyoto, I planned to visit other flight simulation shops near Tokyo. The other day, I went to Yokohama Sakuragicho to watch the movie “The Assassin” with a friend. After leaving the cinema, I remembered there was an A320 shop nearby, so I decided to drop in.
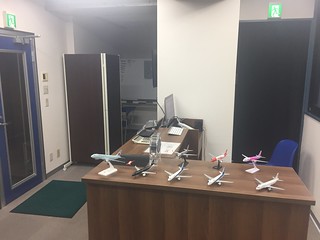
The shop is called JFlight, established late last year, open for less than a year.
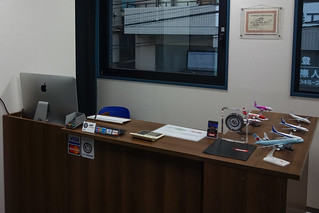 Upon entering, you can see Owner B’s commemorative certificate for flying a PA28 in Hawaii hanging on the wall.
I have one myself, though I don’t know where I put it, but the owner is definitely an aviation fan, no doubt about it.
Upon entering, you can see Owner B’s commemorative certificate for flying a PA28 in Hawaii hanging on the wall.
I have one myself, though I don’t know where I put it, but the owner is definitely an aviation fan, no doubt about it.
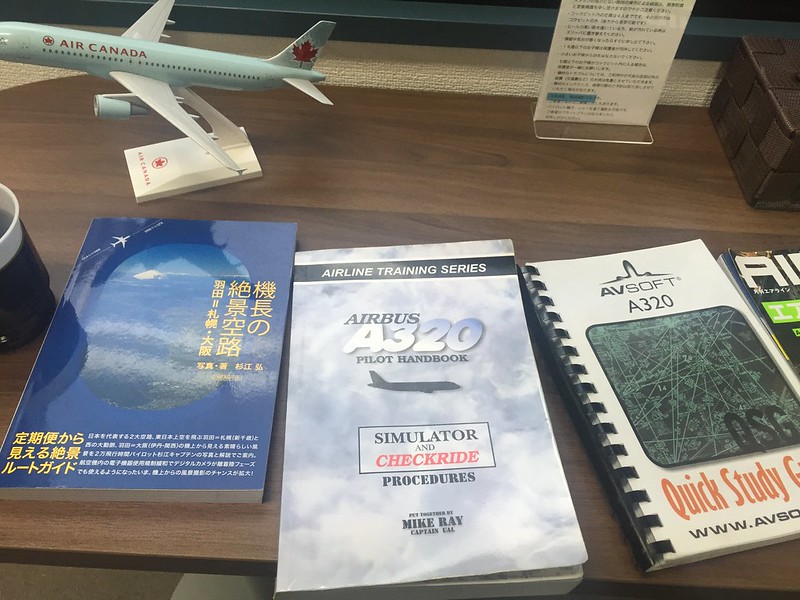 On the table, there were A320 manuals and such.
There was also a book by Captain Sugiye, which I once bought and gave to Senior L.
On the table, there were A320 manuals and such.
There was also a book by Captain Sugiye, which I once bought and gave to Senior L.
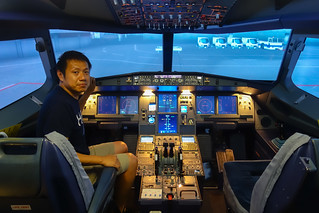
The simulator exterior looks like this; the workmanship is very exquisite.
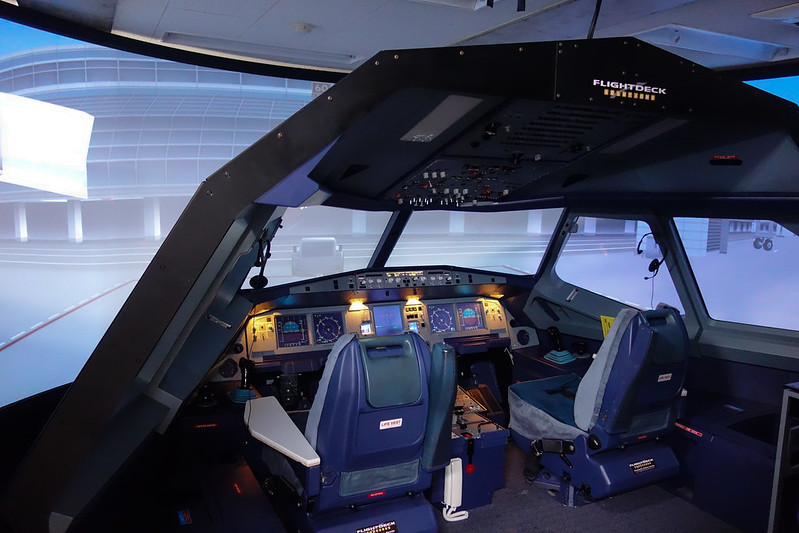 (Note the MCDU carefully; you will notice it lacks keyboard brightness/dimmer adjustment.)
First, I discussed the training plan with Owner M. My plan was to use one hour, starting from a cold start to parking at the Apron. For takeoff, I chose Runway 34R at Haneda Airport, Turn over Tokyo Bay, then land on Runway 34L at Narita. Since the two airports are very close, the cruise altitude was set to 13,000 feet, without using ATC. By the way, the price for one hour of flight is 13,824 yen.
I have touched a full-motion A320 simulator before, so I know a little about the feel of the sidestick and rudder pedals. The purpose of this time was to re-familiarize myself with the various control components, and to become more familiar with the overhead panel and MCDU operations.
I chatted with Owner M about the equipment. He introduced that this set is produced by the Canadian company Flightdeck Solutions (FDS), The product name is FDS-A320-FBPT. FBPT (Fixed Base Procedural Trainer), as the name implies, is a Fixed Base Procedural Trainer, Used by airlines to train students before they enter full-motion simulators.
Full-motion simulators are expensive after all, costing 20-30 million USD a set. While FDS’s product provides advanced training functions very close to those of full-motion simulators for only 1% of the price, this is its value. Additionally, the FBPT product does not provide 3-axis movement simulation nor out-the-window display functionality, Therefore JFlight selected Simulator Displays products from Australia’s NatVIS, Capable of providing a 200-degree cylindrical screen, And using 3 projectors to cast the video outside the cockpit window onto the screen for the FBPT simulator. Additionally, the system software uses the professional software “A320 Pro” from Germany’s Aircraft Simulation Technology, Rather than general personal flight simulation software like FSX.
According to Owner M, the cost of this entire set of equipment is close to 30 million yen. He also mentioned that since opening last year, quite a few pilots have indeed come here to practice, For example, flying traffic patterns continuously for an hour or two, or doing non-stop landings, All are very targeted exercises. Of course, there are also some aviation enthusiasts like me, some come with a few friends, Dividing roles as Captain and First Officer to complete a route flight together. In short, business has been quite busy over the past year (though I don’t know why it’s a bit quieter this September).
Alright, after chatting for a while, the simulator training began. It is embarrassing to say that I have had the thousands of pages of A320 manuals on my Kindle for years but have never read them properly, So this time, I mainly relied on the owner sitting in the right seat to guide me through the operations.
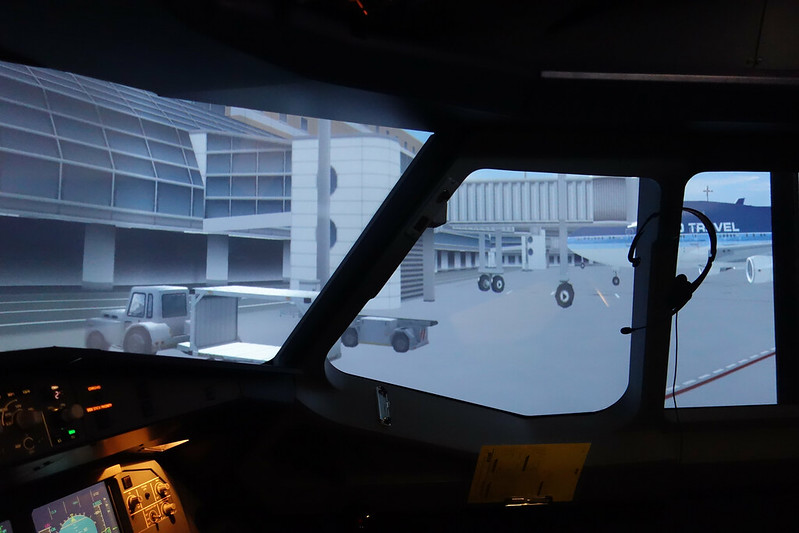
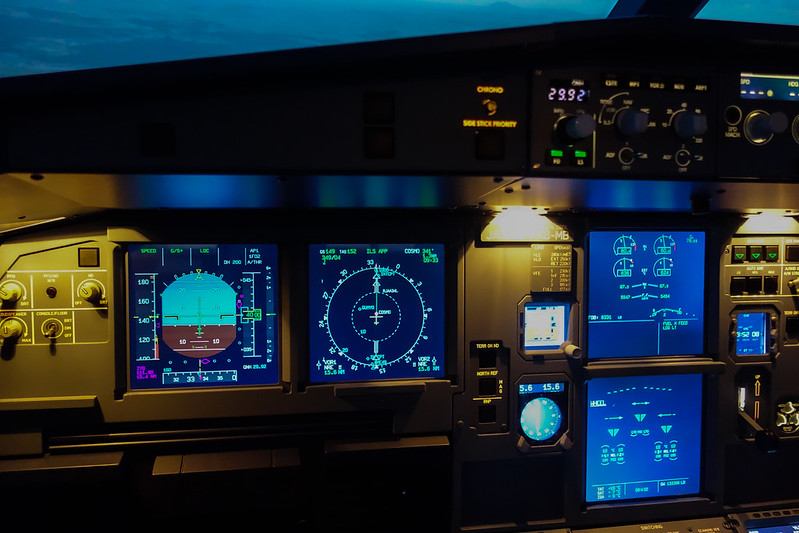
What a beautiful cockpit!
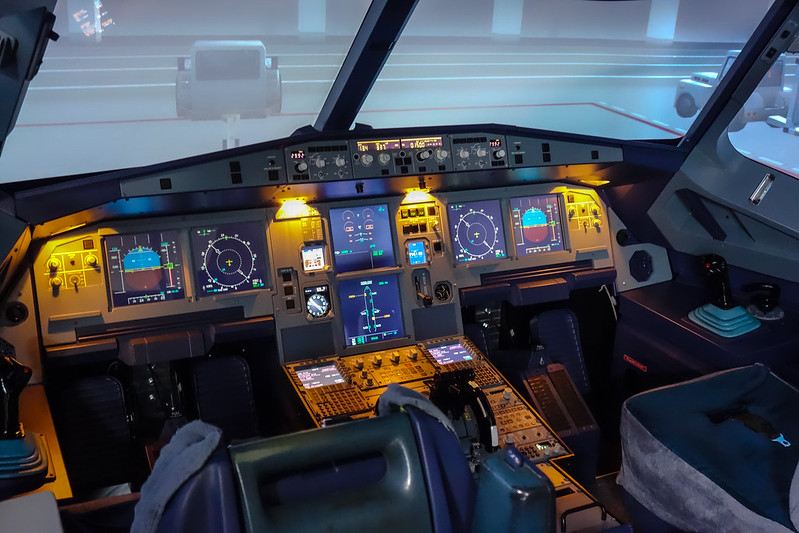
We started with the state of ground power connected. Since it was a turnaround, there was no need for ADIRS initialization and realignment. I followed the owner to prepare the cockpit bit by bit, namely: Overhead Panel: Extinguish all white lights Central Instrument Panel Pedestal FMGS preparation And so on.
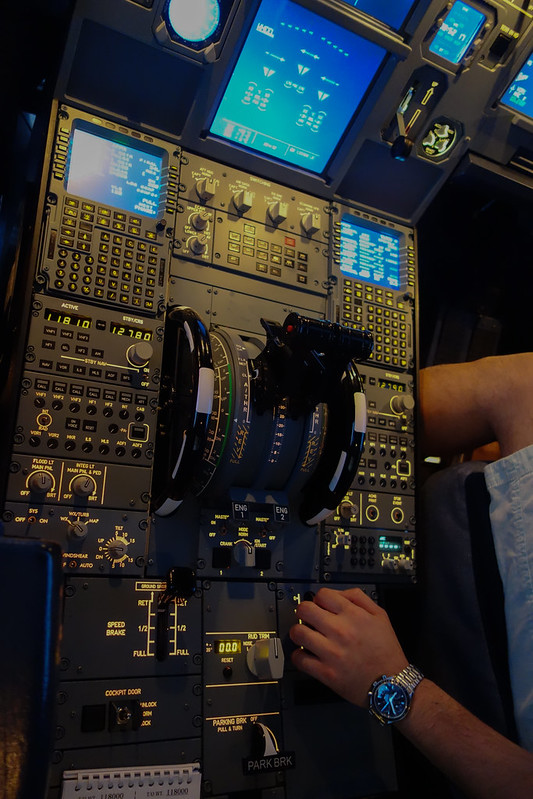
For example, for the A320 overhead panel switches, as long as there is no problem, the lights are off.
But checking from left to right, bottom to top, one by one.
White lights, Air Data Inertial Reference System, External Lights, Pack Flow…
Windshield wipers, Battery, External Power, APU Fire, APU, Cockpit Lighting, Speedbrake Lever, Parking Brake…
And the Pedestal switches, ECAM Status page, Thrust Levers, Brakes,
Every switch, every button—flight simulation just has to have this kind of physical feel to be enjoyable.
,
Next is the MCDU. On the init page, enter the flight number, Departure/Destination RJTT/RJAA, Cost Index 20,
Cruise altitude 13000, Temperature -10.

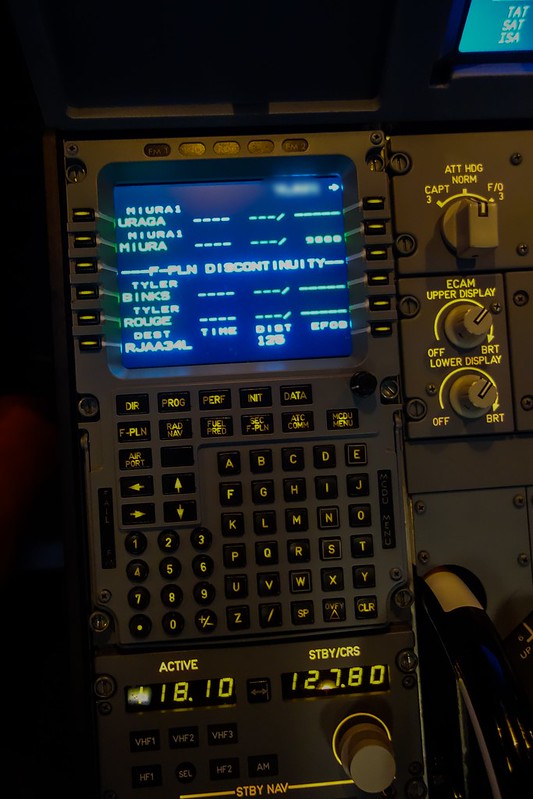
The flight plan uses SID MIURA1 for Haneda:
RWY34L/34R: Climb on HDG337˚ at or above 700FT, turn right direct to TT052, to LOCUP
at or above 5000FT, to URAGA, to MIURA at or above 9000FT.
Then fly BINKS and ROUGE, then Narita 34L.
Fuel prediction is as follows:
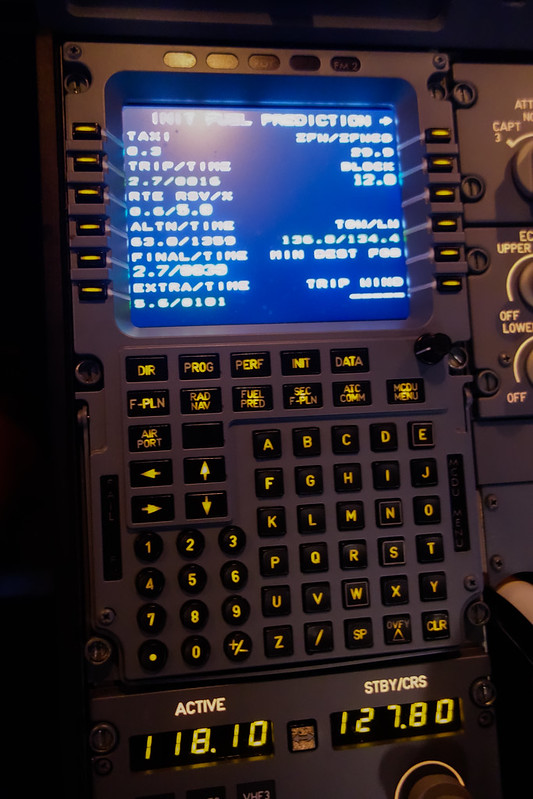
Checked the data model to get the following takeoff data:
V1 is 131
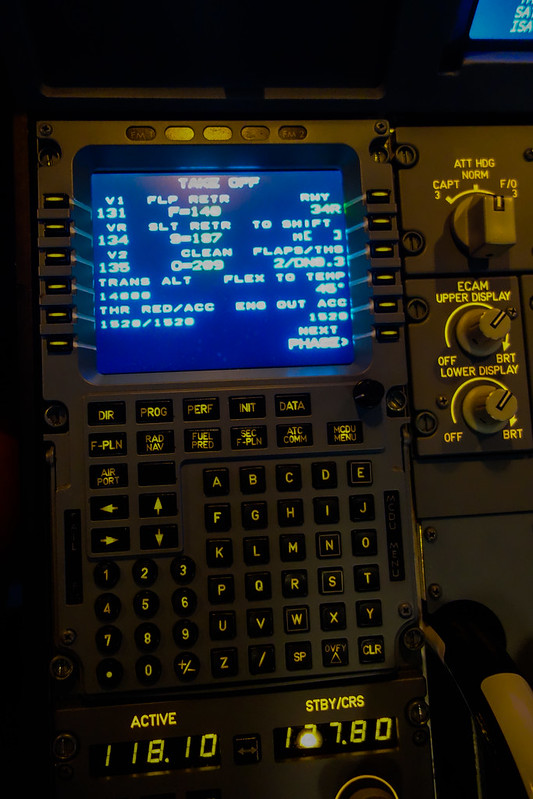
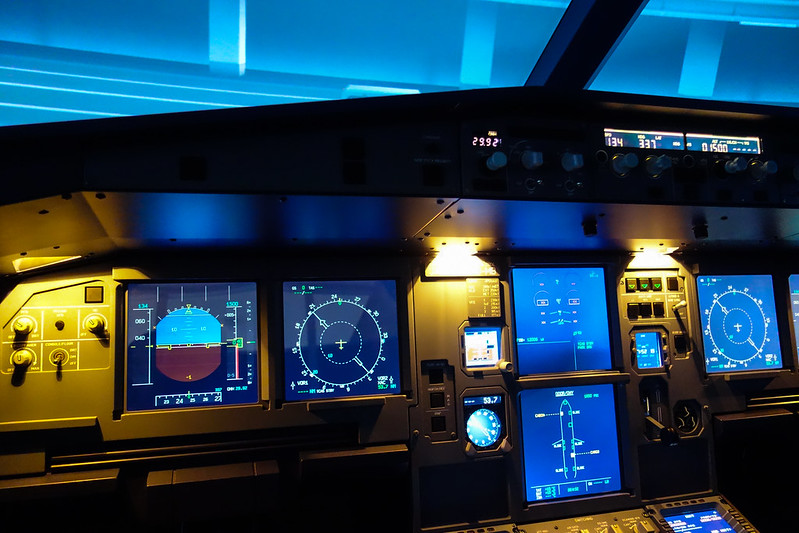
There was no time to take more photos, and this was the final state:
PF displays MCDU PERF TAKE OFF page, while PNF displays MCDU F-PLN page.
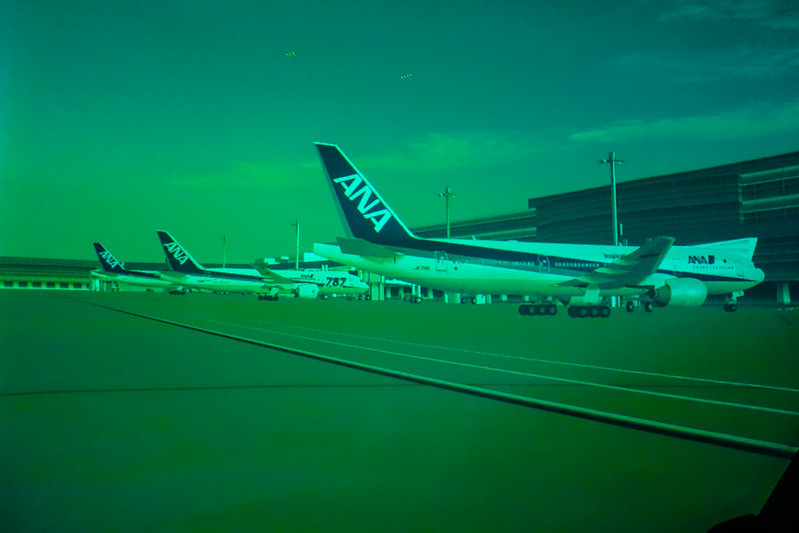
 So the surroundings are all ANA 777s, very realistic.
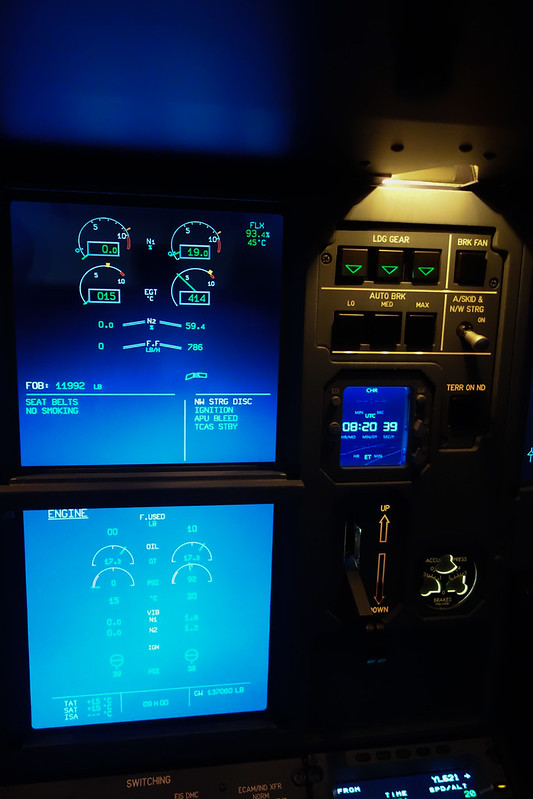
Next is engine start. First, Engine 2 master switch, pull it up slightly and move it forward.
Watch EGT and N1, N2 increasing continuously.
 Continue starting Engine 1, everything normal.
After pushback disconnect, start taxiing. Release brakes, thrust levers remain at idle, turn the nose wheel to Taxiway C.
Continue starting Engine 1, everything normal.
After pushback disconnect, start taxiing. Release brakes, thrust levers remain at idle, turn the nose wheel to Taxiway C.
The nose wheel operation was still a bit unfamiliar; initially the turn was slow, And when returning to neutral, it was too fast. My anticipation control was also not accurate, So I couldn’t keep on the center yellow line, moving forward in a winding path. At the threshold of Runway 34R, checked all around for traffic, then entered the runway. Advanced thrust levers to TOGA position, right hand on the sidestick. Used rudder pedals to control direction. At VR, pulled back to rotate. Felt I pulled a bit late and slow, this part needs practice. After that, retracted landing gear, thrust levers to Climb position, and retracted flaps to 0.
For the flight below, I played manually for a while, constantly adjusting the sidestick to follow the PFD flight director,
Only engaging autopilot near cruise altitude to take a souvenir photo.
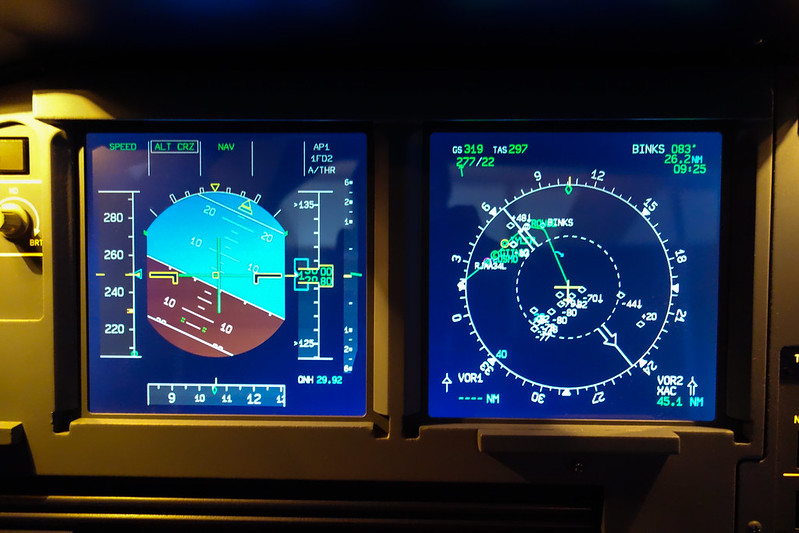
Over Chiba
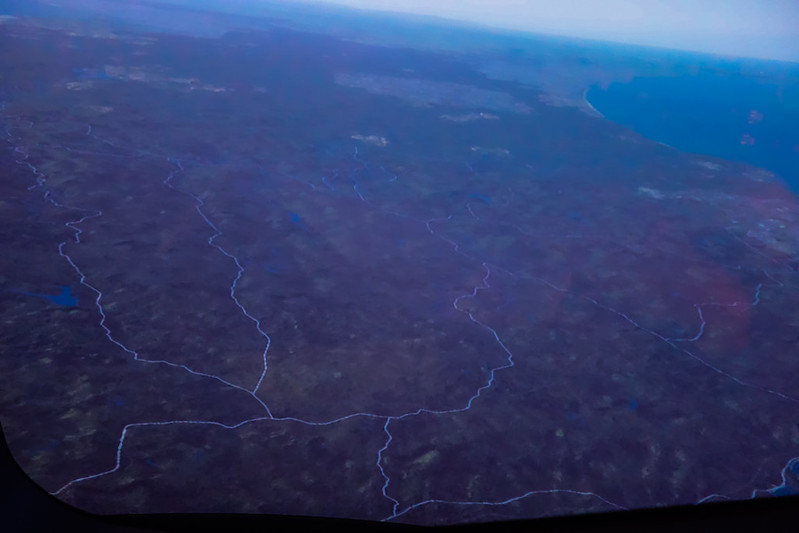
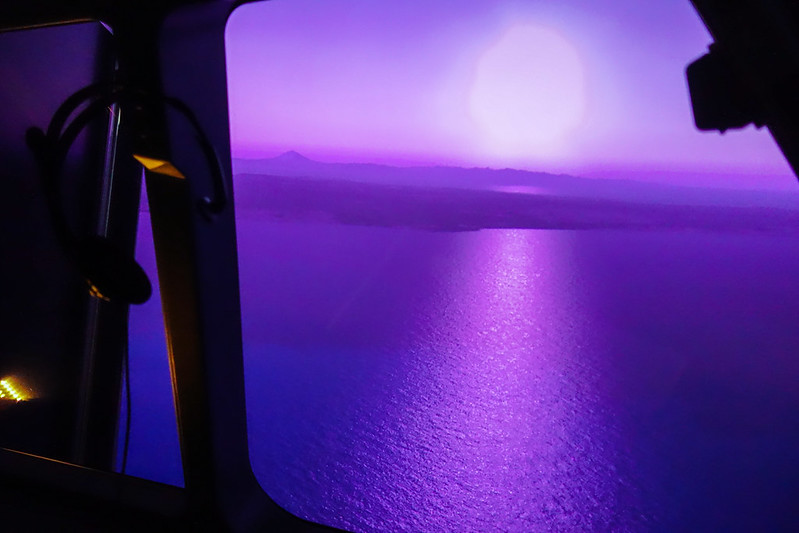
Over Tokyo Bay, the scenery of Mount Fuji in the distance and the sunlight hitting the sea surface was beautiful,
It’s quite impressive that a simulator can achieve this.
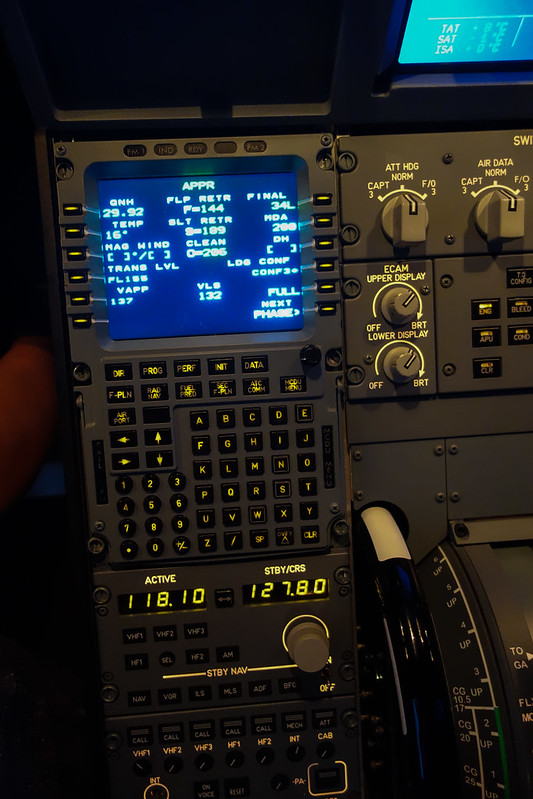
Immediately followed by approach. Since real-time weather was not used, pressure was standard 2992, temperature set to 16 degrees.
Arrival procedure 34L, lowest selectable speed VLS 132, etc.
During Descent
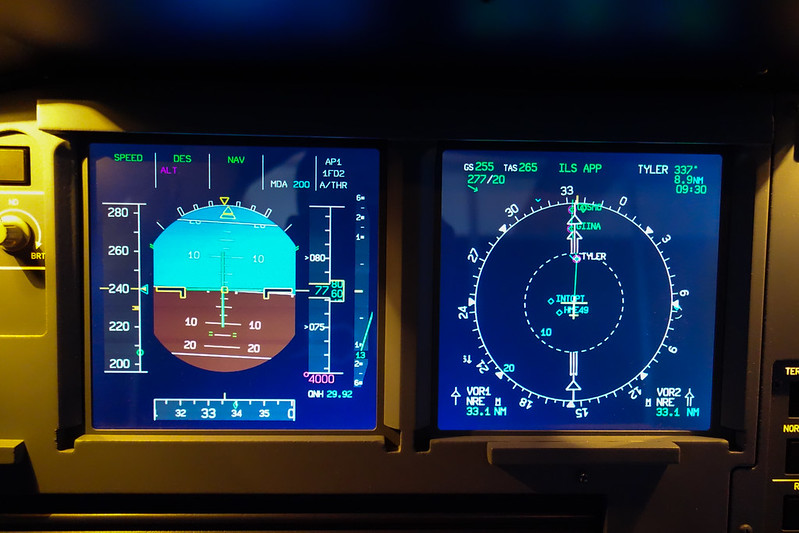
During ILS Approach

By the way, this NatVIS cylindrical screen still has some issues; details aren’t very clear. For example, during the day at 2000 feet looking at the airport, it looks gray, and the runway display isn’t very sharp. This was a bit disappointing. I expect the effect would be better at night.
The final approach stage was still manual, adjusting the sidestick to follow the PFD flight director.
At landing, I flared a bit late again. My skills are poor, please excuse me..
Then I managed to taxi the aircraft back to the terminal, shut down engines, etc., and took a final commemorative photo.
Thoughts 1 Although it can’t compare to a full-motion simulator, this level of equipment is sufficient for enthusiasts like us. The simulation degree of its software and hardware is very realistic, fully satisfying general flying fun. For example, with PC software, operating the selection buttons on the FCU only involves clicking with a mouse, but with realistic hardware, you can experience the actual operational feel: pulling out is select mode, pushing in is manage mode. This effect is vastly different. Similarly for brakes, engine start, deploying flaps, etc., on PC you just hold the left mouse button and move the cursor; with the physical entity, you know you have to pull the switch up first, then move it to the designated position. This operational feel is very important.
2 Need to go home and study the A320 manual in detail, and have a chance to practice at JFlight again.
End