Experience with Anabatic Simulation's C172 Simulator
There are two small companies in the Tokyo area with fixed-base flight simulators,
providing Boeing 737NG and Airbus A320 flight experience facilities for aviation enthusiasts and flight trainees.
In terms of equipment, I estimate their investment to be around $200,000 USD,
which means they provide a fairly realistic cockpit and electronic instruments,
but they are not full-motion, and cannot perform free movement on 3 axes.
After all, the full-motion simulators used by airlines to train pilots are incredibly expensive,
requiring an investment of tens of millions of dollars for just one unit.
The price for flight simulation training at these two companies is close to 20,000 yen per hour.
Although I was somewhat interested, I felt it was a bit expensive, so I had never gone before.
Last week, I stumbled upon a new small company in Kyoto offering a C172 simulator on Twitter,
and the price was very affordable, so I booked a 1-hour flight online.
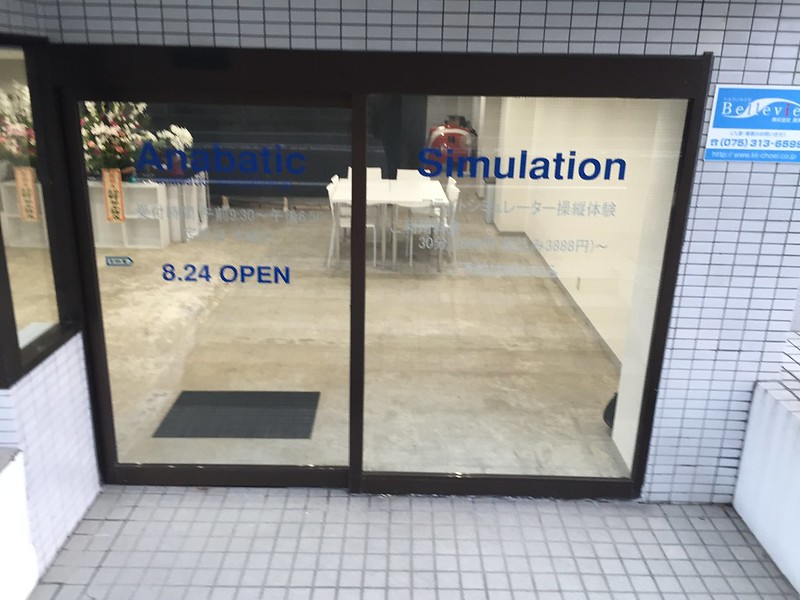
This company is called Anabatic Simulation, located west of central Kyoto.
Take the Hankyu Railway from Kawaramachi, get off after about ten minutes,
and then walk for another ten minutes to arrive. The location is quite convenient.
This is the entrance to the company; you can see the sign indicating it opened on August 24.
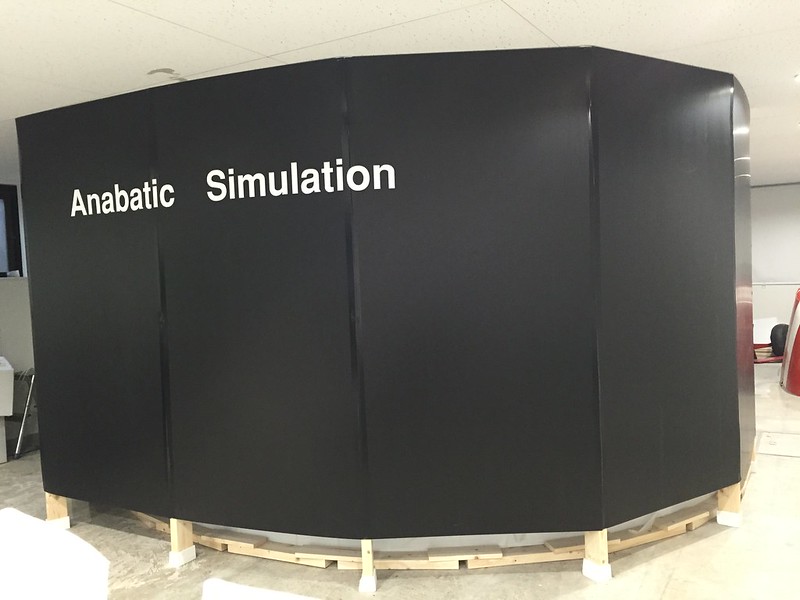
After entering the company, you can see the black exterior of the simulator.
The owner of the company is a young man who looks to be only in his twenties.
I first chatted with him about the process of opening this shop.
It turns out that Mr. Y graduated from the Central Japan Aviation College,
a vocational school specializing in training airline maintenance personnel (basically a junior college).
He is a flight simulation enthusiast himself and originally wanted to join an airline
to work on training simulators, but for various reasons, it didn't work out.
Later, the C172 used for teaching at his school was scheduled to be scrapped due to old age.
He contacted the school and obtained the airframe of this Cessna 172K, registration number JA3458, for free.
After acquiring the airframe, he spent nearly a year modifying it at his own expense,
hand-making many parts, and finally achieved success.
He then opened this company to formally provide services to flight simulation enthusiasts.
I truly admire his persistent love for aviation and his craftsmanship skills.
Additionally, last month this site introduced the JA4060 PA-46 Malibu takeoff failure and crash at Chofu Airport.
Mr. Y actually knew Captain Kawamura, who passed away in that accident, and even helped Captain Kawamura repair his training simulator.
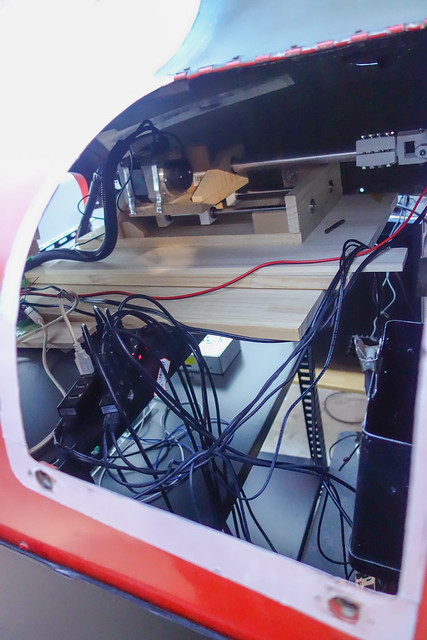
According to Mr. Y, he put a lot of effort into the force feedback controller for the Yoke.
Specifically, based on airspeed and trim conditions,
he used components made with a Raspberry Pi and a 3D printer to control the force.
Therefore, the forces in the roll and pitch axes change according to calculations.
Moreover, under conditions like Turbulence, the force feedback transmitted to the Yoke from the airframe's shaking is faithfully reproduced.
I flew for over an hour afterwards, and I feel this part was done really well.
Something made by a graduate specializing in aviation instruments is truly different.
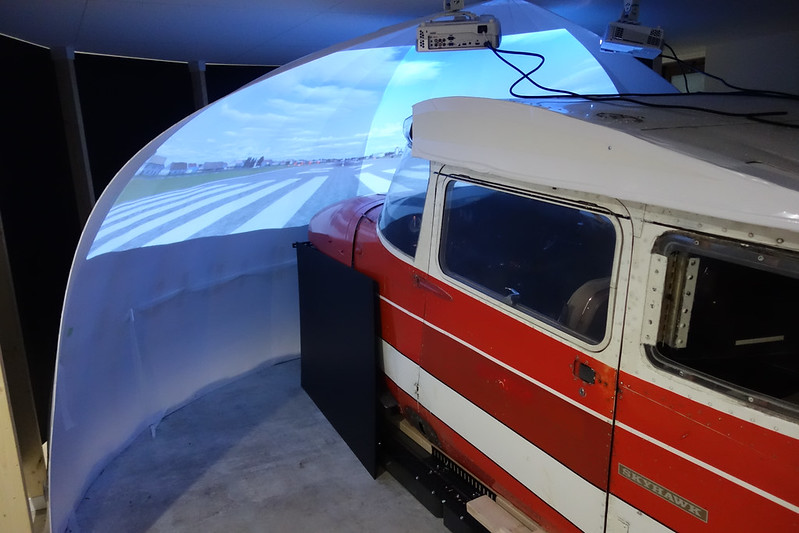
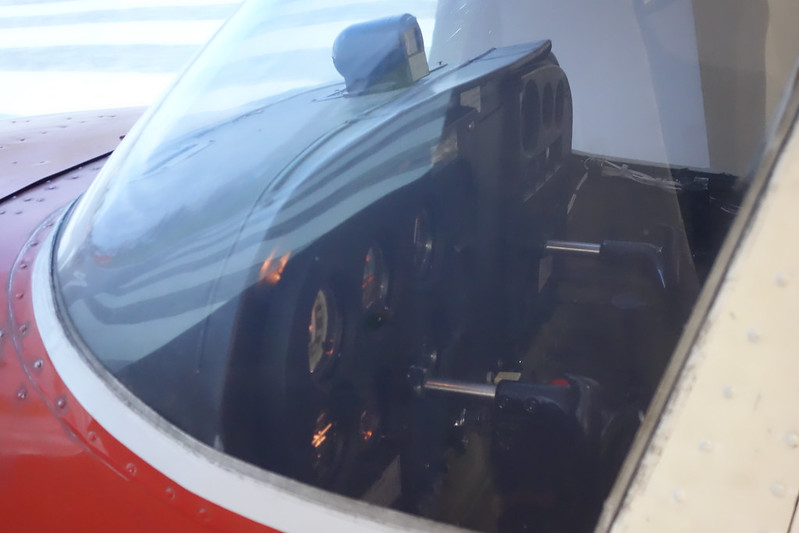
Going inside, you can see this is a simulator modified from a real C172 airframe.
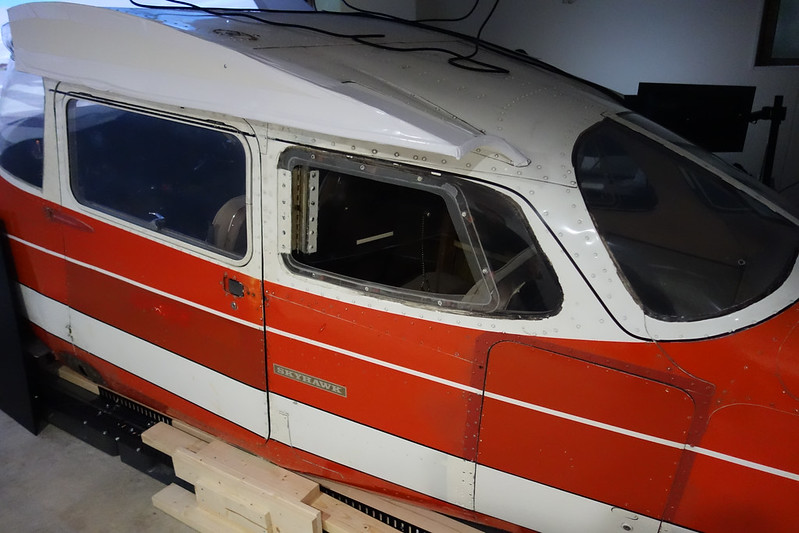
Looking inside from the windscreen, basic instruments and control panels are all there.
The engine was removed, and the engine compartment was converted into force feedback devices for the controls.
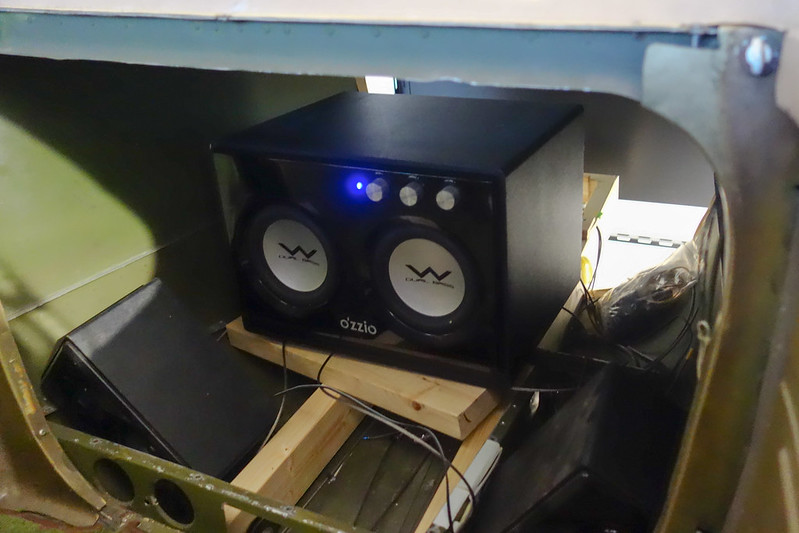
The rear baggage compartment was modified to hold speakers, etc.
The display screen was also DIY handmade; two projectors project the computer output onto a curved screen.
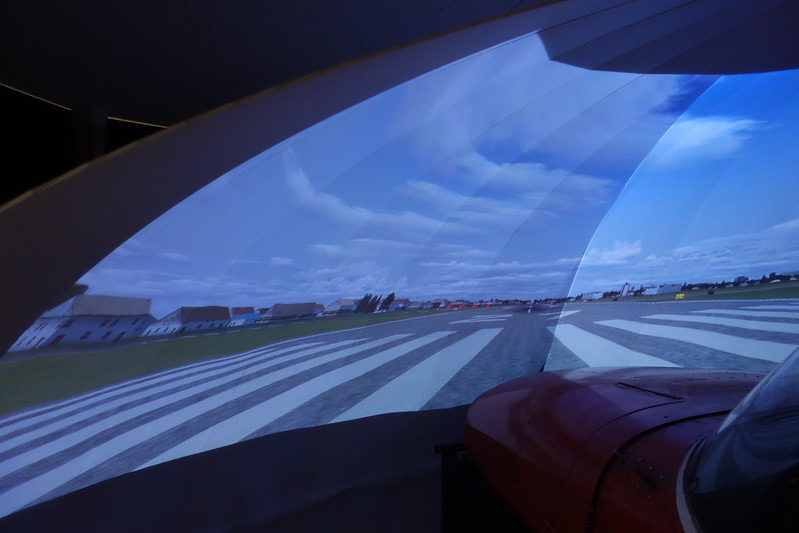
Mr. Y explained that due to insufficient funds, they are currently using two projectors, which can only display the forward view.
When funds are available in the future, they plan to create a 360-degree panoramic view, which will make the simulation even more realistic.
Additionally, aligning the two projectors took a lot of time,
because even slight vibrations can cause misalignment between the two machines.
In the future, they need to use a sturdier base to fix these projectors.
After viewing the equipment, we entered the cockpit and adjusted the seat position.
Although the airframe is quite old, there weren't major modifications to the interior,
so I didn't feel much discomfort.
The only thing that felt a bit different was the seat height. Since it is a very old 172K,
it feels lower than the 172SP, so the view felt slightly weird.
I needed to look up slightly. I guess the design of older airframes was like this, so there's nothing to be done.
You can see the panel has basically maintained its original condition.
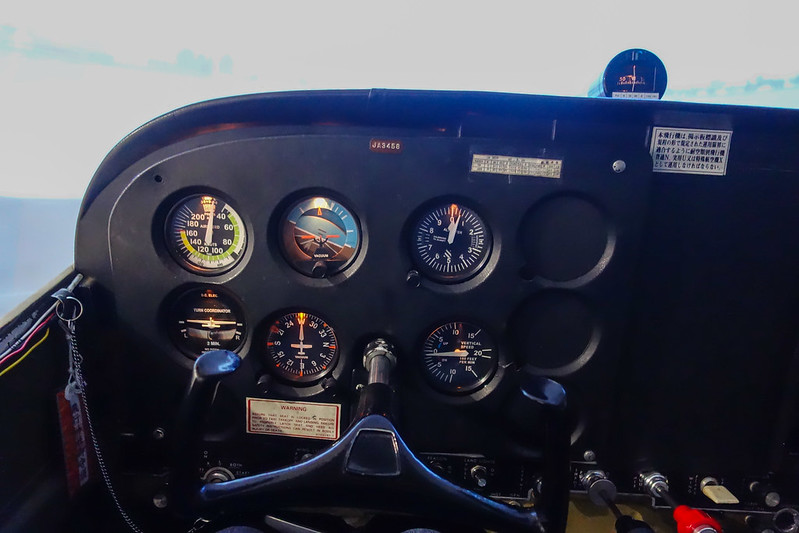
However, note that several of the basic instruments here
were purchased from simkits.com.
Although you can't tell much from the appearance, the workmanship is very realistic.
Of course, these instruments are all connected to the computer via USB.
By the way, the software used by this simulator is Prepar3D.
I have never used this software before, so this was a good opportunity to try something new.
Sitting in the left Captain's seat, the aircraft location was chosen at Yao Airport.
I planned to do a sightseeing flight to Kyoto.
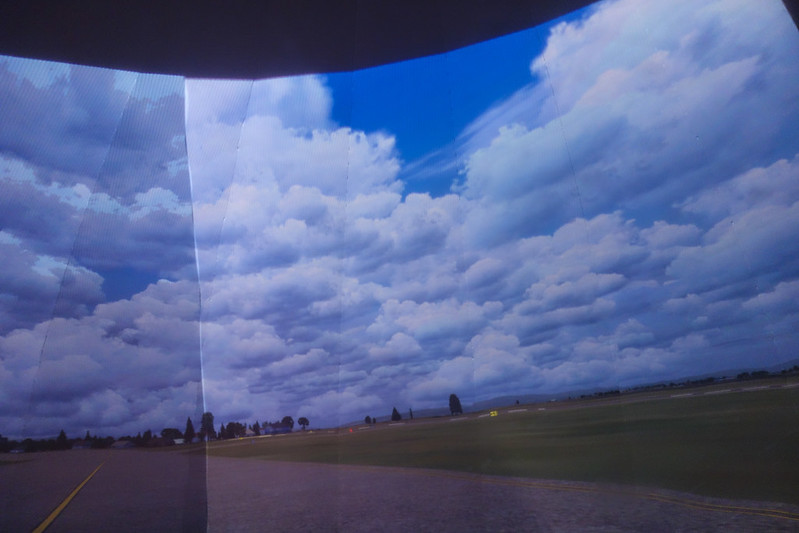
Looking at the forward view, it was quite clear, and the graphics were beautiful.
Prepar3D's cloud effects are much better than X-Plane's.
Next, takeoff. Fuel selector to Both, Master on, Mixture Rich, advance Throttle a bit,
Engine start, Taxi, Takeoff. Everything went smoothly up to here.
Owner Y basically didn't touch the controls, leaving everything to me.
We chatted while flying, and we really hit it off.
This is the great thing about flight simulation: it's safe, no need to be nervous, and you can relax and enjoy the fun of flying.
Regarding the feel of the control surfaces, as mentioned above, the roll and pitch effects were quite realistic,
although the response was slightly slow. I don't know if it was a software or hardware issue.
After all, in real flight, it feels more sensitive.
Also, yaw seemed to respond even more slowly, and the damping felt a bit low,
making it easy to over-control. Maybe it's just an adaptation issue.
I am fairly familiar with the terrain around Osaka, so I could roughly figure out my position without looking at a chart.
Heading north, we arrived at Kyoto in no time.
We flew over Kyoto for a sightseeing tour; the right side is the Kyoto city area.
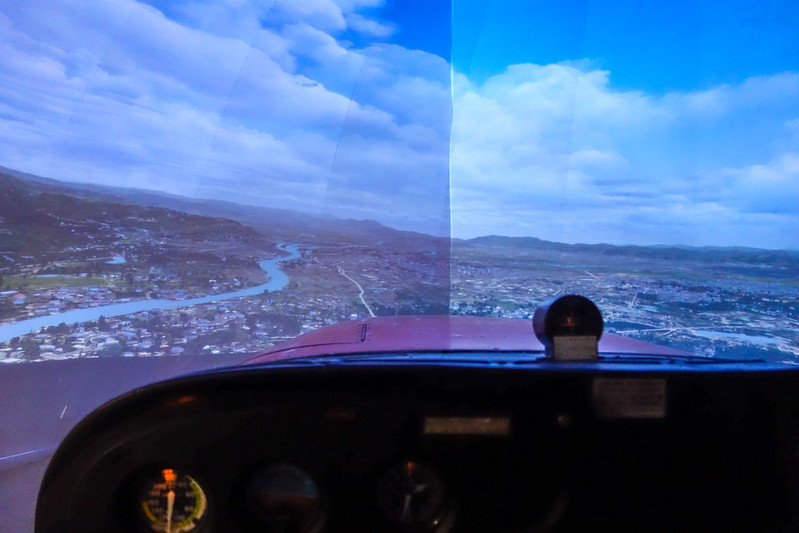

Since the owner is a local, he pointed out exactly where Kyoto Tower, Arashiyama,
and the Kamo River are.
Speaking of which, the scenery currently used is the default Prepar3D scenery, so there are very few 3D buildings,
but the locations of major mountains, rivers, roads, and lakes are quite accurate.
For me, I don't pursue high-resolution scenery at all, so the current effect is sufficient.
Also, the weather can download METAR in real-time, so seeing cumulus clouds under a blue sky
was basically the same as the actual climate that day, making the flight itself very pleasant.
After circling over Kyoto, we detoured to Lake Biwa for a look,
then headed back. Upon returning to the Osaka area, we saw Itami Airport in the distance.
Mr. Y suggested we do a touch & go.
After all, things general aviation aircraft aren't allowed to do in reality
are much freer in the world of flight simulation.
Taking off from Itami 32L, heading southeast along downwind,
passing through central Osaka and past Osaka Castle, I faintly saw the Runway at Yao Airport.
Today's weather favored RWY27, so I flew along the base leg towards Mt. Ikoma.
That's when the big problem arose: because there is no side view,
and I didn't pay attention to timing, my judgment for turning to base and final was completely off.
I had no choice but to go around.
On the second attempt, aligning with the Runway on final was a bit better,
but I was still too high, so I had to use cross control,
performing a forward slip to lose altitude, and managed to land with difficulty.
Still not used to taxiing; the rudder is easily stepped too hard,
so I snaked my way wobbly back to the Apron.
I had only booked one hour, but I was having such a good chat with the owner
that I must have flown for an hour and a half. Sorry about that.
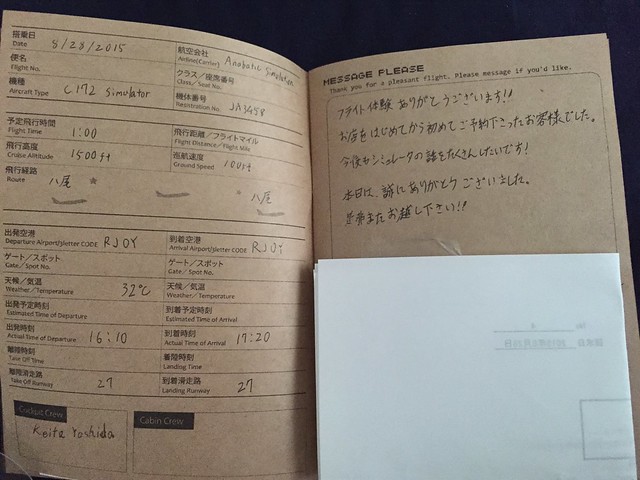
Finally, I asked Mr. Y to record this flight in the logbook, hehe.
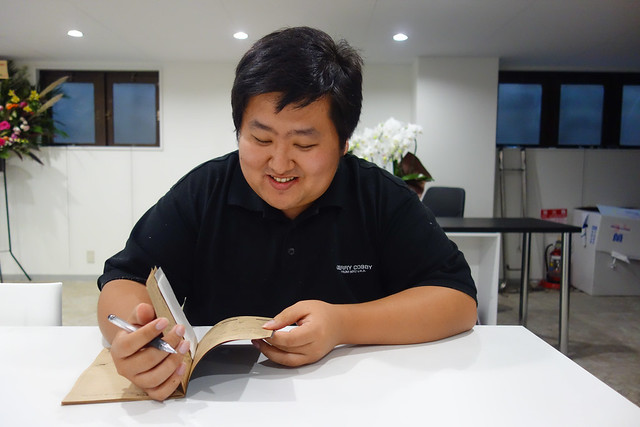
It turns out I was actually the first customer to make a reservation since Anabatic Simulation opened.
I guess the previous ones were friends and family of the owner. I'm truly honored.
Later, I wandered around Kyoto city a bit more and wrote a short article to share.
End
2015/09/10 Update
Mr. Y introduced the process of building his simulator in his blog, which I am sharing here for reference.