Thoughts on Trying Out FlightGear
I saw a beautiful female commercial pilot introduce FlightGear on Baidu Tieba—another famous flight simulation software, so I installed and tried it for an hour or two. Although I didn’t use it for long, I feel this software is worth playing more. Compared to X-Plane, its features include: 1 Completely free 2 Scenery can be automatically downloaded from the internet, no need to search for them one by one 3 Small size, the download package is only 1G, compared to X-Plane’s 8 DVDs, it is easier to install, and has lower requirements for network and hardware 4 It is also relatively lightweight during flight, the control feel is direct, and the response is fast, not as slow and heavy as X-Plane 5 Many extension functions, and good hardware support 6 The texture of the 3D models is a bit poor, so it looks more like a game software, so in terms of realism, it is quite inferior to X-Plane
Before installing, I read the documentation on FlightGear’s official website. I felt that using this software might be a bit more difficult for ordinary people. Environment variables, XML setting files, executing commands from the command line, using various options in the command line, etc., are quite troublesome. For myself, after all, I have used UNIX for more than 20 years, so I find this kind of documentation quite familiar, hehe.
But actually downloading FlightGear v3.4.0 from the official website to take a look, it wasn’t as troublesome as written, actually very simple. To briefly summarize the installation method on MAC: 1 Download the compressed package FlightGear-3.4.0.dmg from the webpage above, size 1.17GB. It took me nearly an hour to finish downloading at home 2 Open FlightGear-3.4.0.dmg to get FlightGear.app. Copy FlightGear.app to the Application directory 3 Execute FlightGear.app That’s it, really simple. There are also aircraft and scenery files available for download on the download page above, but since scenery can be automatically downloaded from the internet, there is no need to install them for now.
Okay, let’s run it and try. Clicking FlightGear.app shows the startup screen. Actually, this is a selection screen, allowing the user to select the aircraft for this flight, departure airport, and conditions such as weather/time:
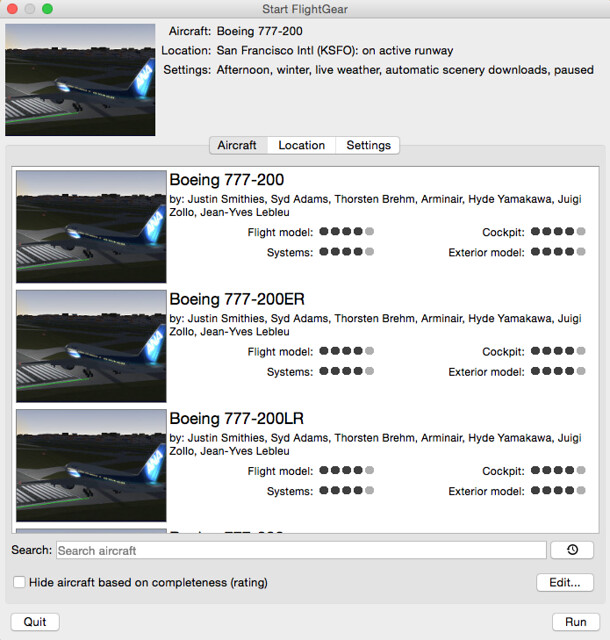
Since I didn’t download aircraft files, the first time I ran it, I could see the default aircraft included Boeing 777, Cessna 172, Beechcraft 1900, Piper PA-34, F-14, Zero fighter, etc. In the screenshot above, I selected the Boeing 777-200 aircraft, location at San Francisco Airport, time on a winter afternoon, weather set to real-time weather, and scenery set to auto-download.
Of course, for the first flight, it’s better to choose a familiar place, so I chose C172 and Haneda Airport (RJTT). Pressed the Run button in the bottom right corner,
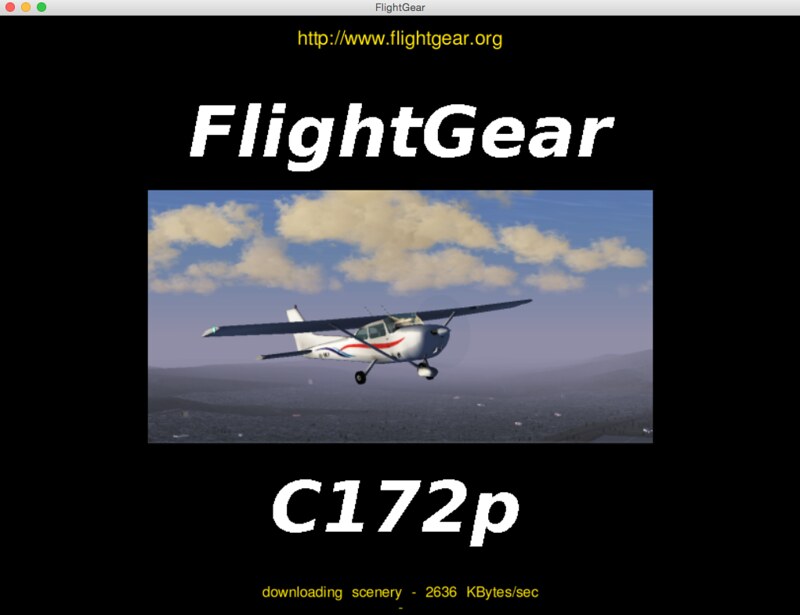 The program enters the loading phase. Since there are no scenery files, you can see the message “downloading scenery” at the bottom of the screen.
By the way, since this is a test, I only connected the CH FighterStick joystick as a peripheral. I didn’t use the Saitek rudder pedals and Yoke.
After 1-2 minutes of initialization, I entered the cockpit mode. The models of Terminal 1 and the Tower at Haneda Airport were okay, but I don’t know why Terminal 2 and the International Terminal were missing. However, all 4 Runways are there, so the place is recognizable at a glance. Since I wasn’t familiar with the shortcut keys, I clicked the Help menu at the top of the screen, and a ShortcutKeys dialog popped up,
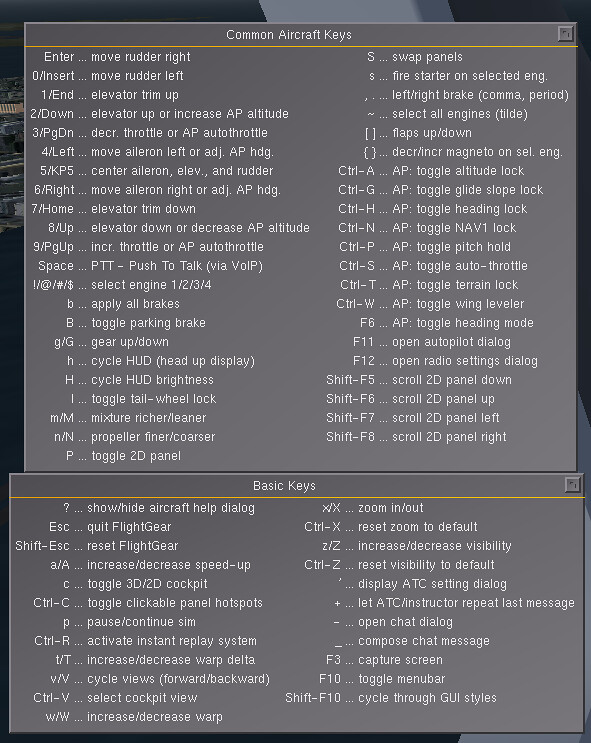 Learn and use on the fly:
s key to start the engine
] to deploy Flaps
Push the FighterStick throttle button (seems the software found it automatically)
B key to release parking brake
Use , and . to control left and right brakes, keep aligned with the Runway center
Push the FighterStick throttle button to maximum, the aircraft starts to move forward
Use 0 and Enter keys to control left and right rudder, try to keep the aircraft straight on the Runway
Pull back the stick after about 55 knots, the aircraft starts to Climb, press [ to retract Flaps, Turn towards downtown Tokyo for a spin, and take a screenshot
Learn and use on the fly:
s key to start the engine
] to deploy Flaps
Push the FighterStick throttle button (seems the software found it automatically)
B key to release parking brake
Use , and . to control left and right brakes, keep aligned with the Runway center
Push the FighterStick throttle button to maximum, the aircraft starts to move forward
Use 0 and Enter keys to control left and right rudder, try to keep the aircraft straight on the Runway
Pull back the stick after about 55 knots, the aircraft starts to Climb, press [ to retract Flaps, Turn towards downtown Tokyo for a spin, and take a screenshot
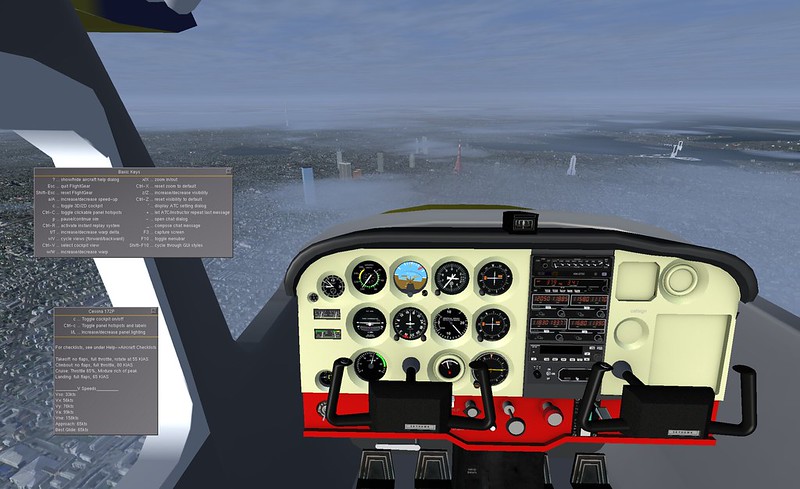
You can clearly see landmark buildings such as Tokyo Tower, Tokyo Skytree, Tokyo Bay Bridge in Odaiba, and Roppongi. The small buildings on the ground are also densely packed, and I didn’t feel the display speed was slow, it was basically relatively smooth.
How does it feel to fly? As mentioned above, it is quite lightweight, the aircraft’s response is very flexible, and the flight feeling is relatively stable. The amount of control input required is less than in X-Plane. Due to the lack of texture inside the cockpit, I was a bit unaccustomed to it at first, but I got used to it after getting familiar with it. The instrument display is also very clear, making it easy to read various data. Aerodynamically, it also feels quite real, propeller effects and all are there, stability is good, and it is more relaxed to fly than X-Plane, quite suitable for beginners to get started. The cockpit viewpoint changes with the aircraft’s attitude, maybe this is also a simulation of reality, but I am still not quite used to it yet.
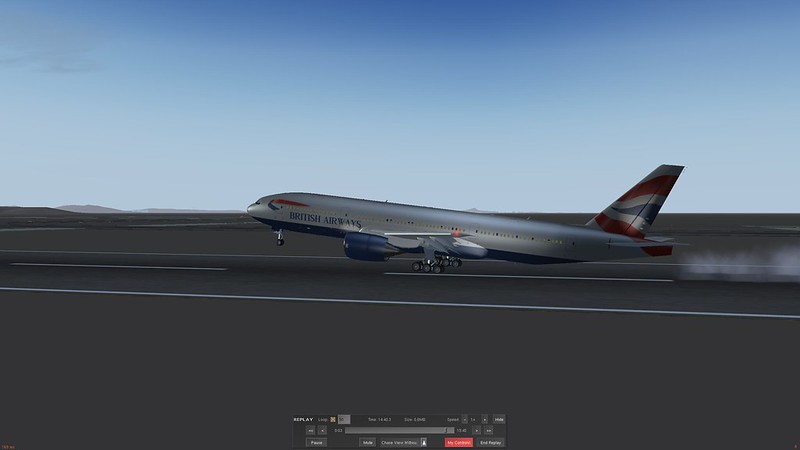
Display shortcuts include: v and V Switch between various views Ctrl-V Switch back to cockpit view x/X Zoom in/out z/Z Increase/decrease visibility range F3 Screenshot Ctrl-R Replay mode p Pause
I think this replay mode is quite convenient, so I’ll post a screenshot.
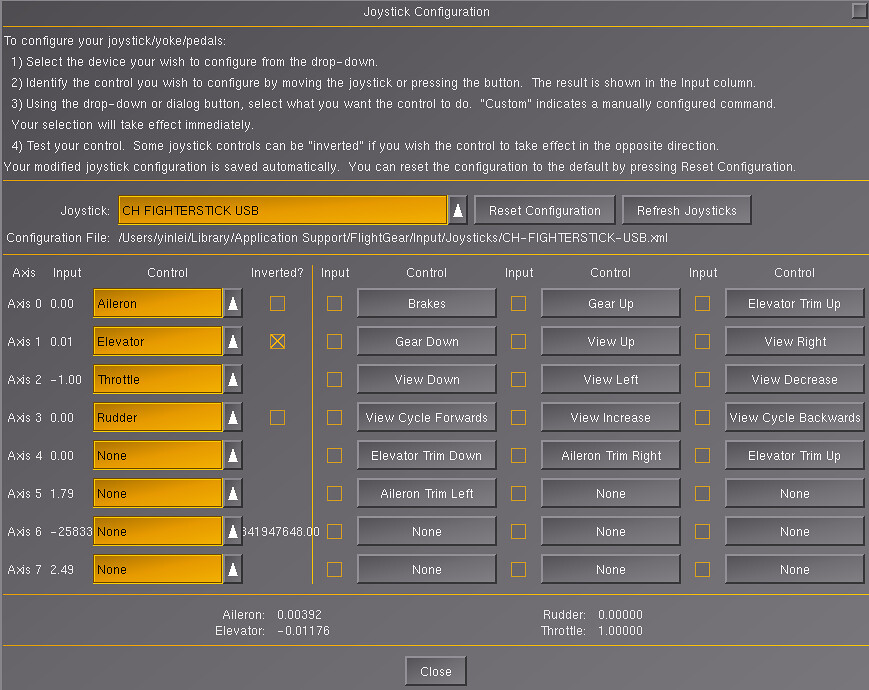
The FighterStick has many buttons, it would be a pity not to use them, so I assigned them all. Now I basically don’t use the keyboard, and I can perform flight control and view operations just using the joystick:
By the way, the interior of this 777 cockpit feels really well done, it reminds me of… (Off-topic, omitted 1000 words) I will practice more in the future!
The next step is to learn how to add aircraft and try the Do 328 made by the beautiful pilot.
End