Highly Recommended X-Camera Plugin for View Settings
The name of the X-Camera Plugin makes it look like a screenshot tool, but it isn’t. It is simply a camera view Plugin for X-Plane that allows you to define your own favorite views for use in 3D mode. I tried it once and loved it immediately.
The installation method is very simple. Just click the green “Download X-Camera” button on the official website download page, then extract the files and copy them to X-Plane 9\Resources\plugins.
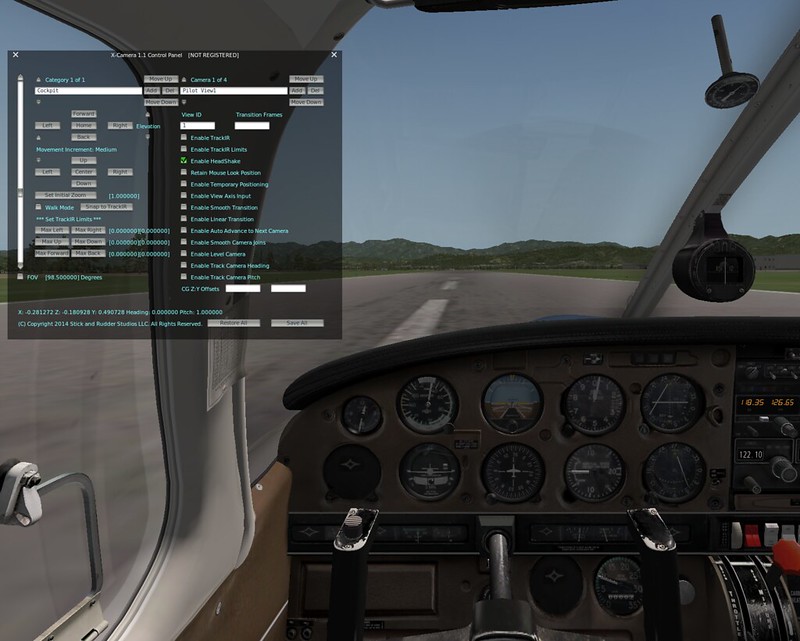 Using the software is also very simple. First, find X-Camera in the Plugin menu and Enable it. Next, open the control panel settings, as shown in the image above.
X-Camera views can be categorized according to your needs as “Categories”. This category is displayed in the top left of the control panel; for example, here is the cockpit view, or Cockpit. To add a category, simply press the Add button. Under each category, you can set multiple views, or “Cameras”. There is also an Add button here, allowing you to set many types of views. In the image above, I set up 4 “Cameras”, but it is said that X-Camera can support up to 1000.
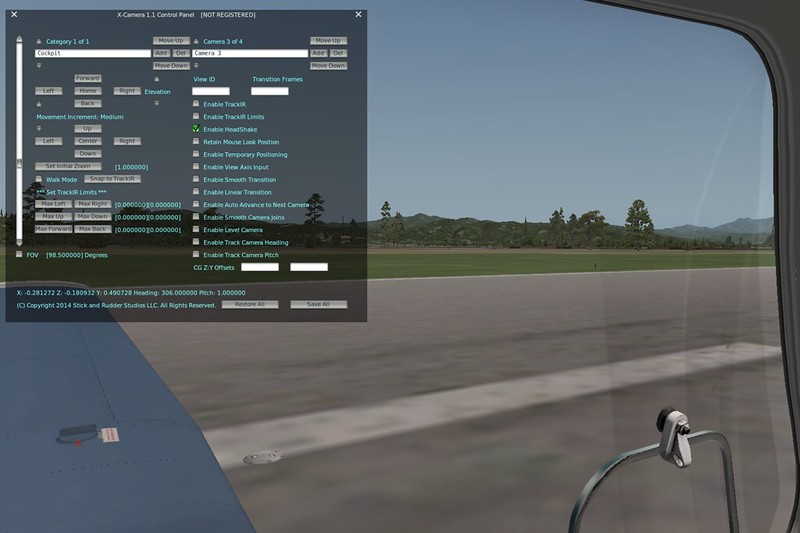 This is the third view, using the Left Side viewpoint.
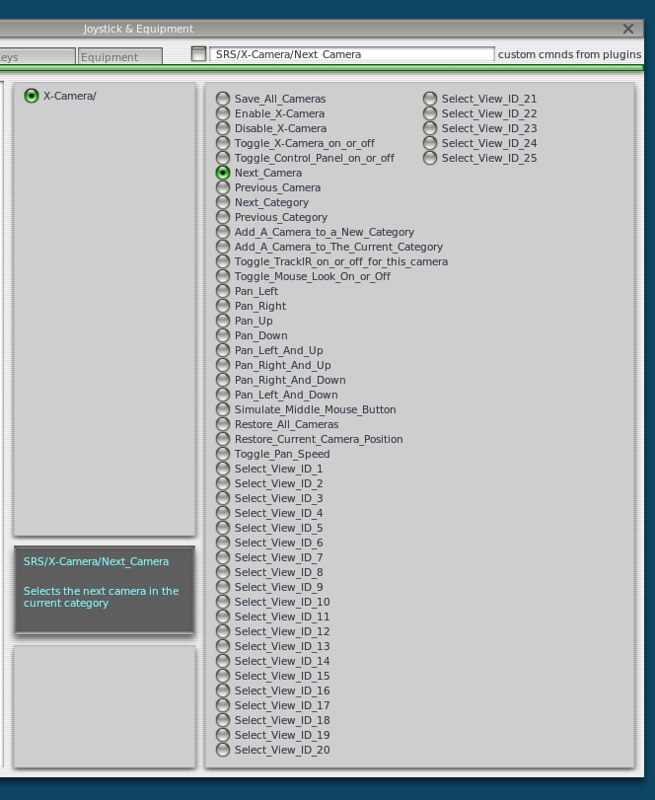
After deciding how many views you need, you also need to assign a view switching function to a button on your peripheral. Personally, I use a button on my Saitek yoke to map to the “Next Camera” function.
Alright, that completes the setup. During flight, switch views as needed, and feel free to adjust up, down, left, right, zoom in and out until you are satisfied.
X-Camera can automatically save the current view. When you switch to another view and switch back, it automatically maintains the previous adjustment status. I am very satisfied with this feature.
X-Camera User Guide
End