NaturalPoint TrackIR 5 & TrackClip Pro Head Tracking System Setup
After hesitating for a while, I finally bought the TrackIR 5 & TrackClip Pro. Below is a brief summary of the installation and usage on Mac. (For Windows, you can download the drivers and configuration software from the official website, but since there is no Mac version, we have to look for some Open Source alternatives.)
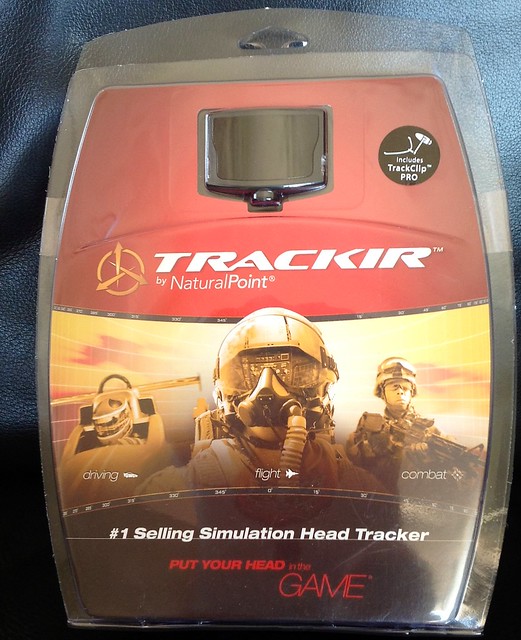
First, the product introduction. The TrackIR 5 is a head tracking system composed of two components: the TrackClip Pro (emitting part) and the TrackIR 5 (receiving part). When you use the 3D cockpit mode in X-Plane, simply moving your head slightly up, down, left, or right will automatically switch the view according to the movement, eliminating the trouble of using buttons or the keyboard to control it. This is especially true in the traffic pattern during landing, where you need to constantly check the position of the aircraft and the runway. With this peripheral, the realism of the flight simulation is greatly improved. Highly recommended!


Hardware installation can refer to the official instructions, so I won’t go into details here. I will mainly explain the software installation.
First, download the application software for Mac, linux-track —— Software for head motion tracking on linux/MacOSX, <img src=http://code.google.com/p/linux-track/logo?cct=1330468024> You can find the latest software package here, such as linuxtrack120328.dmg, and then copy the ltr_gui.app application inside to the system’s Application folder or the main X-Plane directory.
Launch ltr_gui. You will see the Device Setup screen for the receiving component as shown below. Select TrackIR.
-thumb-640x543.png) Look at the Firmware section in the middle. If the Firmware is not installed, press the Install button to install it automatically. If it is already installed, the Install button will be grayed out.
Next, set up the Model Setup for the emitting component. Select TrackClip Pro.
Look at the Firmware section in the middle. If the Firmware is not installed, press the Install button to install it automatically. If it is already installed, the Install button will be grayed out.
Next, set up the Model Setup for the emitting component. Select TrackClip Pro.
-thumb-640x543.png) Next is the X-Plane driver. In Misc, press the “Install Xplane plugin” button. A file selection dialog will pop up asking you to select the X-Plane executable, which means finding the location of X-Plane.app.
Next is the X-Plane driver. In Misc, press the “Install Xplane plugin” button. A file selection dialog will pop up asking you to select the X-Plane executable, which means finding the location of X-Plane.app.
-thumb-640x540.png) Now you can try the effect. Press the Start button in the Tracking Window. There is a test cockpit where you can move your head back, forth, left, and right to check the view switching effect.
Now you can try the effect. Press the Start button in the Tracking Window. There is a test cockpit where you can move your head back, forth, left, and right to check the view switching effect.
-thumb-640x491.png) TrackIR can be adjusted in 6 directions. You can adjust them yourself in Tracking Setup while testing in the Tracking Window until you are satisfied.
TrackIR can be adjusted in 6 directions. You can adjust them yourself in Tracking Setup while testing in the Tracking Window until you are satisfied.
-thumb-640x542.png)
Alright, you can start X-Plane now. For the settings after this, you can refer to the official documentation here. Simply put, it involves setting up buttons to start TrackIR and to recenter. Go to the Settings / Joystick, Keys & Equipment menu under Joystick & Equipment.
 Select the setting command for the button.


 The three commands available above are run/pause/recenter.
That’s it for the setup. Enjoy the flight!
End